Thursday, August 31, 2017

AE Skills Continued: 20 Effects & Filters Exercise


Hello Students,
Motion Graphics is a technique that is used to bring graphics, animation and 3D content to life. It is used in commercials, production, movies, animation and more. From the most complicated animated feature film to a simple logo animation, motion graphics makes it happen.

Tutorials - After Effects for Beginners:
Read and work through these tutorials to gain an in-depth understanding of the After Effects workflow. Don't skip any steps or skim over the material, read each and every paragraph and try out the steps yourself. Be thorough, you will be calling on these skills for the next assignment. Work through all, from intermediate to advanced.
Motion Graphics can blur the line between video, art and animation


20 Different AE Effects Assignment Details:
  • Find a short clip from one of your previous projects, output a 3-5 second clip of video from Final Cut. Use the Export > Quicktime function for best results.
  • Launch Adobe After Effects
  • Go to File > Import > Files and navigate to your clip
  • Drag your clip into the timeline and set up a composition
  • Explore the Effects menu, pick one while your clip is selected in the timeline to apply that effect
  • You can use Command-D to duplicate a clip, you can also Option-ClickDrag to make a copy.
  • Use the Text Tool to create a text object and type in the name of the Effect, shorten the Text Objects Layer in the Timeline so it only appears for that specific clip. Repeat for each clip.
  • Apply 20 different Effects to 20 different clips... explore the effects palette to modify the Effect's parameters. 
  • When done, set up your in/out markers and use Command-Control-M to "Make" a movie. You will see the Render Que... hit the Render button to save your movie.
  • Transfer your movie to my laptop via thumbdrive to turn it in
  • Files are due before end of class monday
Grading for a total of 10 points:
2.5 Points - All 20 clips created with effects
2.5 Points - Effects have labels
2.5 Points - Quicktime movie turned in and is proper video format
2.5 Points - File turned in on time

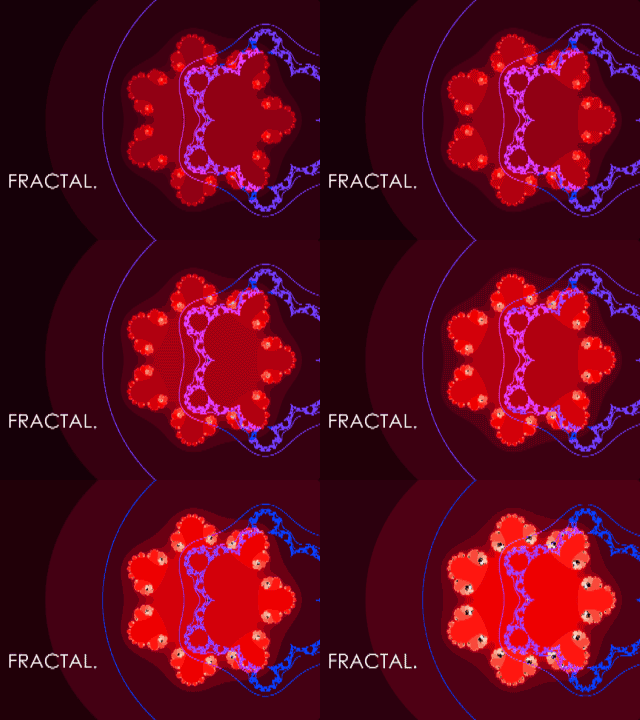
AE Effects Samples:


Have Fun!


 - Mr.W

Monday, August 28, 2017

Modern Motion Graphics: Introduction to Animation with Key Frames in AE

Hello Students,
To re-inforce our newly developing skills in After Effects (AE) we will revisit the effects and animation tutorial to create a short series of sample animations that demonstrate different capabilities in AE.

Tutorial Link: AE for beginners - effects and animation

Animation Basics Project:
In this project you are required to read the tutorial link above and create examples of different methods and techniques of animating with AE. Your animation should use simple solid shapes or images, the key is to simply demonstrate each technique listed below. Keep your sample animations short and to the point. Total running time for project should be kept under 2 minutes.

  • Open up the link above in a web page
  • Launch AE and create a new HD composition
  • Create an animation sample using simple solid shapes or images for each of the following listed below
  • Work with your classmates to share information and discoveries
  • When complete export your sample animation movie and turn in to the external HD
  • If you are unsure refer to the tutorial page, it lists all the methods to create these samples

Create a sample key framed animation that demonstrates the ability to transform:

  • Position
  • Opacity
  • Scale
  • Rotation


Create a sample animation that demonstrates the ability to alter the velocity of a keyframe:

  • Easing into a keyframe, to slow down
  • Easing out of a keyframe, to begin slowly and speed up


Create a sample animation that demonstrates:

  • Parenting of 2 objects
  • 2-3 objects that overlap each other and show blending modes applied to change how objects blend together
  • A masked object
  • A masked object with a feather applied to the mask
  • A masked object where the mask is animated


Saturday, August 19, 2017

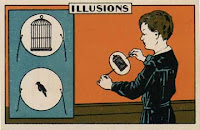
Traditional Animation Origins: Thaumatropes and Phenakistoscopes

Hello Students,

Your next module is a physical exercise in creating examples of the earliest forms of animation. This module will create an understanding the illusion that makes animation possible, this is called "Persistence of Vision".

Animation History Project 1: Creating a Thaumatrope
  • Make a thaumatrope using the materials available
  • Think of an interesting 2-frame animation idea and create a handmade thaumatrope device, it can be created digitally and printed out or by drawn by hand
  • You will turn in a physical example of your thaumatrope.
  • Due at end of class today!

Animation History Project 2: Creating a Phenakistoscope
  • Create a phenakistoscope using the materials available
  • Follow the lesson details outlined in the CTEOnline curriculum for creating a "Spindle Viewer". This lesson contains a template which may be printed and used
  • Think of an interesting 16 frame animation, it should be able to loop seamlessly if you are successful
  • Your animation can be drawn by hand, created digitally or with photographs, your imagination and skill level is the only limit
  • You will turn in a physical example if your phenakistoscope along with an animated GIF file of your phenakistoscope. We will learn how to make animated GIF's with Photoshop before you turn it in.
Links:

Phenakistoscope Instructions
  1. Obtain or print up a copy of the phenakistoscope template
  2. Sketch your animation very lightly in pencil, make sure to keep your artwork consistent and evenly spaced for best results. Make sure the scale of your characters or artwork is consistent.
  3. Spin your template for a quick preview of what your animation will look like, adjust lines or artwork if needed
  4. Once the artwork is complete, ink the sketched artwork with a dark pen. Felt tip pens are best but any will work. Make sure the lines are bold and easy to see for best results.
  5. Scan your template with the scanner and transfer to your computer
  6. Open your scanned image with adobe photoshop
  7. Create a new layer and set the blending mode to darken. On this layer paint color over your artwork with a brush/pencil tool. The blending mode "darken" will allow your line art to show through the color you added
  8. When the color layer is complete flatten your image to make the color and artwork into a single layer. Save a copy of this to preserve your original layered file.
  9. Open your flattened image and open the animation palette in photoshop, set the palette to work in frame mode.
  10. Create 16 layers of your template, rotating each layer so that it is aligned and ready for animation
  11. In the animation palette sub menu, select "make frames from layers" and your layers will be cast across the timeline in the animation palette
  12. Adjust your duration and delete any frames that don't belong.
  13. Hit the play button to see your animation, adjust speed/duration if necassary
  14. Export a GIF files to make an animated web safe file
  15. Make sure the GIF looks good and is set to loop "forever"
  16. Make sure you add your first and last name to the file and turn it into my external hard drive or copy to my laptop.
Due by end of class Monday


    Have fun! - Mr.W